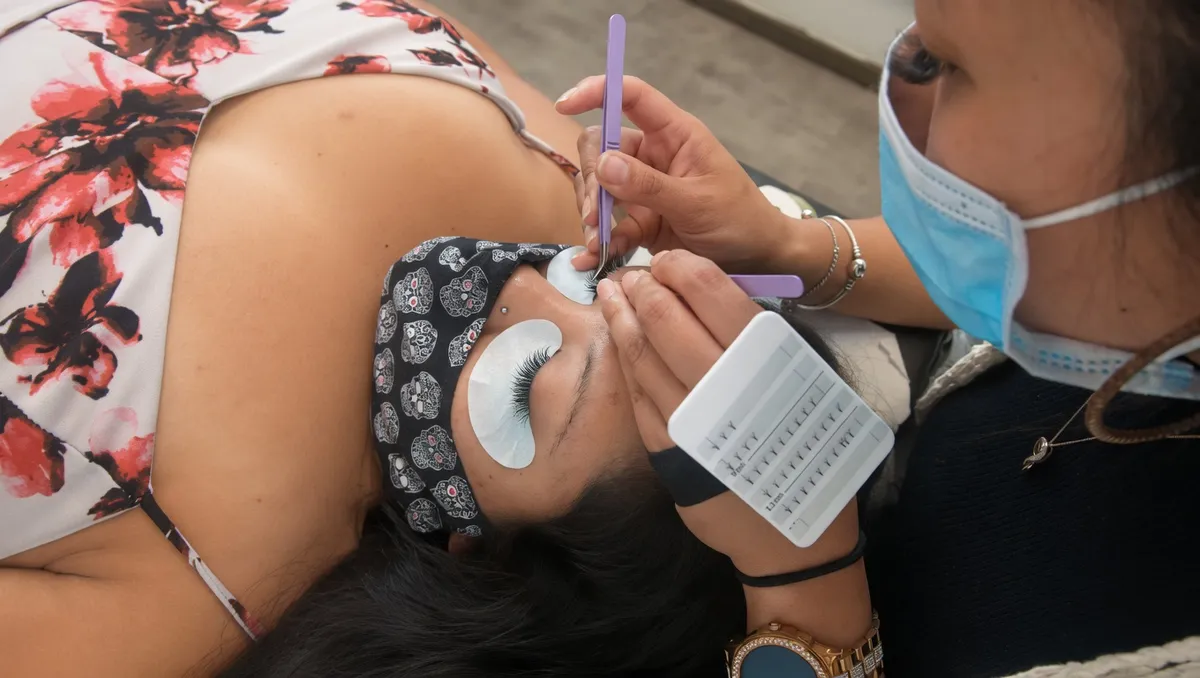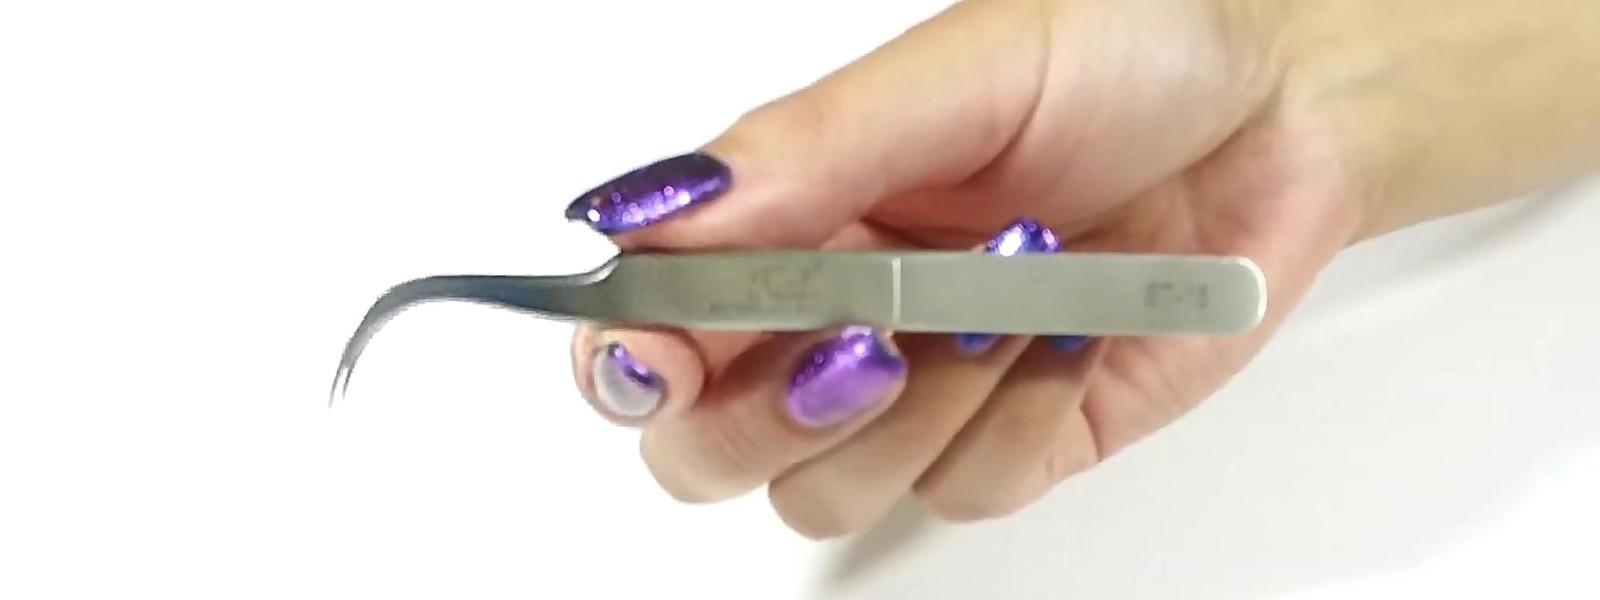
Lash artists work with two tweezers at once. One is for isolation. It holds a single natural lash apart from the others. The other is for pickup. It grabs the extension, dips it in glue and places it. Isolation tweezers are long, thin and usually straight. Pickup tweezers are straight for classic lashes, and curved or angled for volume.
Which ones you choose is mostly preference. I say that a lot when I teach, and I mean it. But it helps to know what each shape is for before you buy.
If you are buying your first two, get a straight tweezer with a thicker handle for isolation, and a straight tweezer that tapers on both sides for pickup. That pair will get you through a classic set.
Isolation Tweezers
Your isolation tweezer goes in your non-dominant hand. You slide it in close to the base of the lashes and spread the tips to open a gap. That leaves one natural lash on its own, ready for an extension.
Thin is what matters here. A thin tweezer slips in between the lashes without pushing the ones next to it. My first choice is the thinnest straight tweezer I own. I use it every day on my clients.
Weight matters too. You hold this tweezer still for the whole appointment. A light one makes a difference by the end of a full set.
If a thin handle feels hard to grip, choose one with a slightly thicker handle and the same length. It is still great for isolation, and a thicker handle is easier to hold steady when you are new. That is why it is the one I suggest first.
Straight is the usual choice, but even a curved tweezer can be used for isolation. So can one that tapers on one side. It is all about preference and finding what works for you as a lash artist.
Pickup Tweezers for Classic Lashes
For a classic set, you pick up one extension at a time. You want a tweezer that grips well and lets you see exactly where the extension lands.
A straight tweezer that tapers on both sides is a good place to start. The tip gets a lot thinner along its length, which makes placing the extension on the natural lash much easier.
Once you have a feel for it, try a tweezer that tapers on one side only. It is shorter than the double-tapered one, and that is why I like it best for pickup.
Pickup Tweezers for Volume Lashes
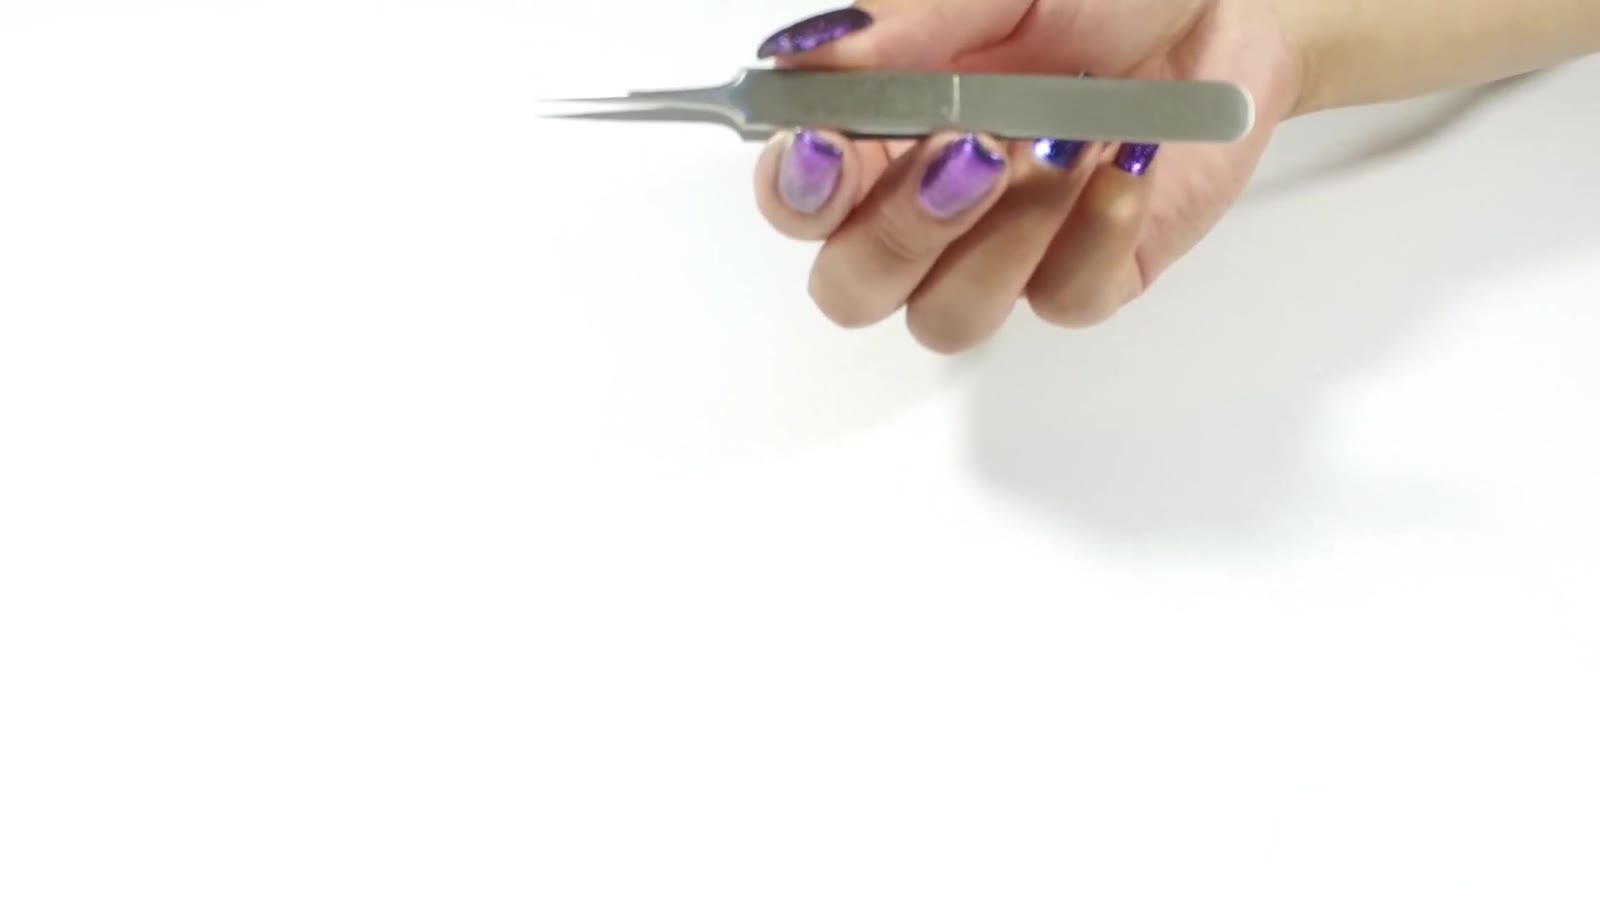
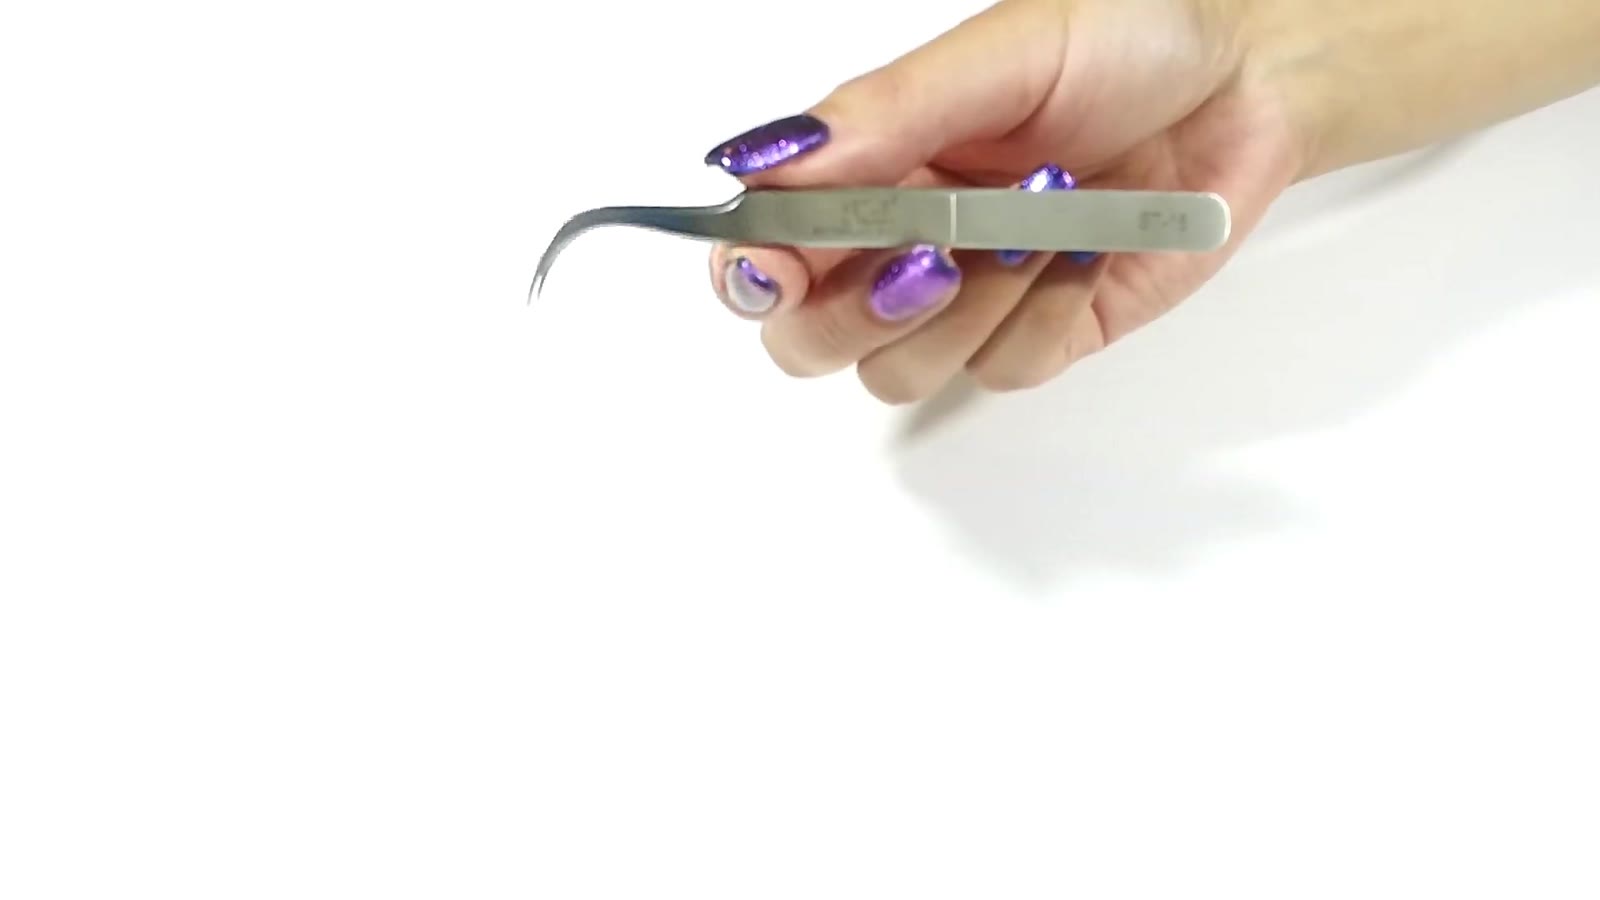
Volume needs a different shape. You are picking up several thin extensions at once, as a fan. A curved tweezer grabs multiple extensions easily. It is what I use every day for all my volume work.
The other option is a tweezer with a sharp 45-degree angle at the tip. It grabs several lashes at once, and it is best for volume only. Pick up a few fans with each and see which one keeps the fan even.
If you use pre-made fans, the job is easier. The fans are already bonded, so they stay together when you pick them up. I show this in my lash fill tutorial, which uses pre-mades.
Lash Tweezer Shapes at a Glance
These are the six shapes from my tweezer guide video. Which ones I reach for depends on preference and the type of lashes I am applying.
| Shape | Best for |
|---|---|
| Straight, the thinnest | Isolation. I use it every day |
| Straight, thicker handle | Isolation, with an easier grip |
| Straight, tapers on both sides | Classic pickup and placing |
| Tapers on one side, shorter | Pickup, or isolation if you like the feel |
| Curved tip | Volume fans. I use it every day. Also isolation, and clusters at home |
| Sharp 45-degree angle | Volume only |
If you are starting out, you do not need all six. Start with the two straight tweezers above, and add a curved one once you start volume. The eyelash extension tweezer set ↗ in the shop has six different tips, so you can try a few shapes before you settle on one.
Using Two Tweezers Together
Isolation takes time to get used to. Go in close to the eyelid, then spread the tips to separate the lash. Sometimes two lashes stick together. When that happens, use your pickup tweezer to move one aside. Do not think you only use one tweezer for isolation. Both can help.
Taping helps too. When the eye is taped well, the lashes pop out and there is space between them. Sometimes you barely need to isolate at all. Here is how I do it in lash taping techniques.
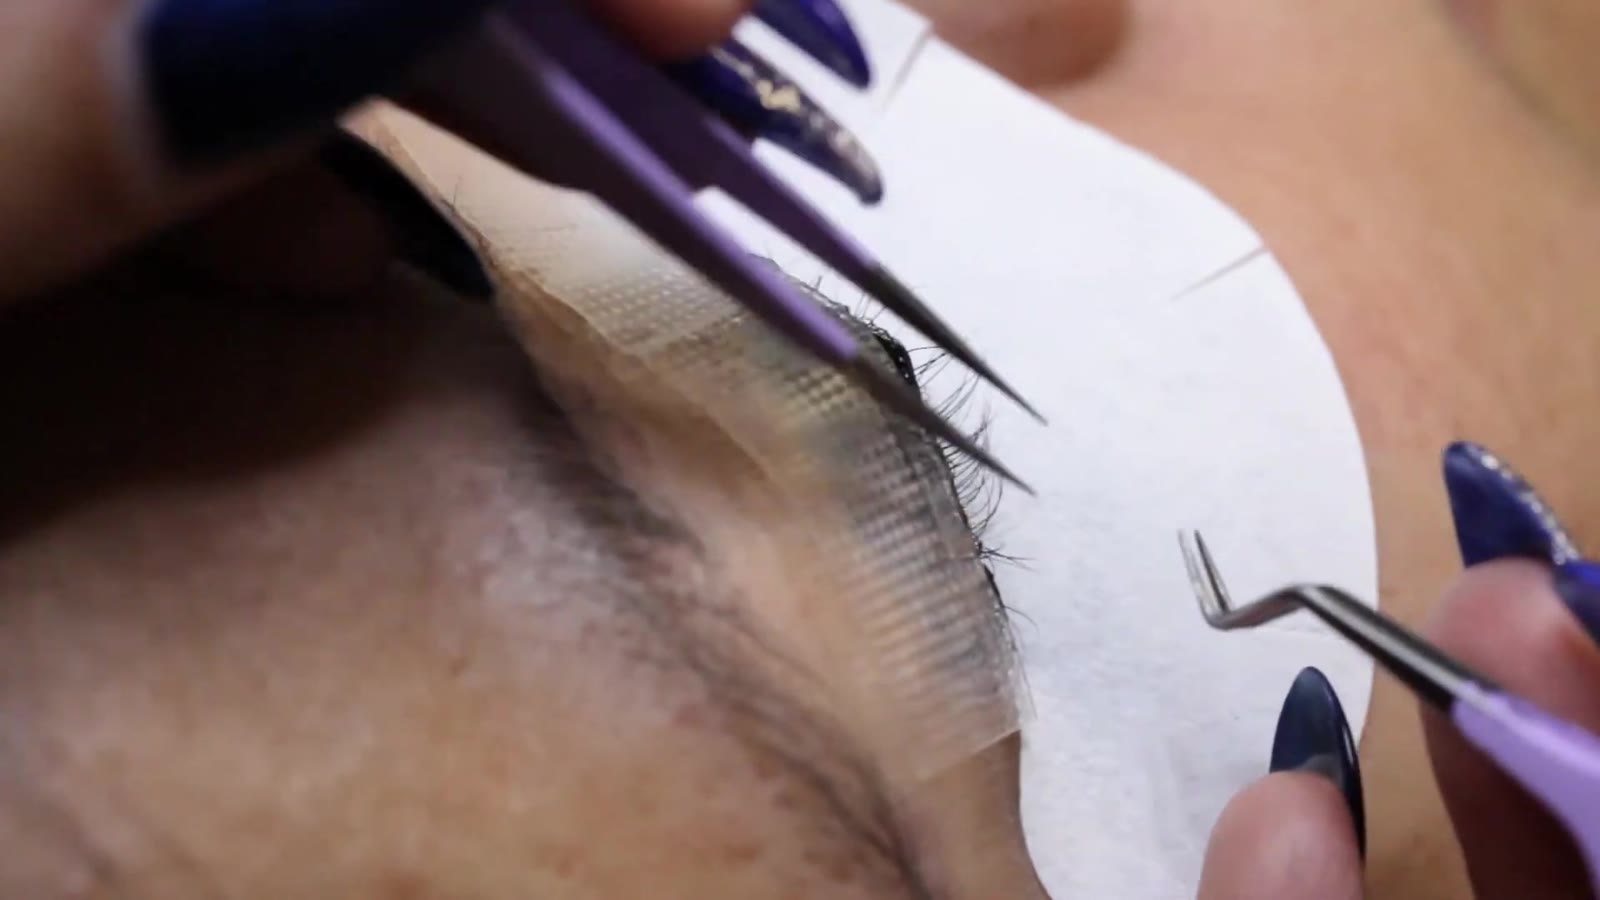
Good isolation also protects the natural lashes. It means one extension per natural lash, so no two lashes get glued together. More on that in are lash extensions bad for your lashes.
What to Check Before You Buy
A good pair of tweezers lasts a very long time. I still use some of the tweezers from my own training. What ruins them is damage, usually from a fall.
Here is what I check on a tweezer:
- Tension. Squeeze it. It should compress smoothly and spring back the right way.
- Alignment. Close it and look at the tip. Both sides should meet evenly.
- The real test. Pick up some lashes. That tells you more than anything else.
If a tweezer falls, run the same checks again before you use it on a client.
Keep them clean too. I clean my tweezers with alcohol and soap between clients.
Tweezers for Clusters and Strip Lashes
Doing clusters or strip lashes at home is a different job. You are not isolating single lashes, so you do not need a pro set. One tweezer is enough, and a curved one is best. The curve lets you hold the cluster and press it into place. Here is how clusters, strips and extensions compare.
If you are thinking about going from clusters to real extensions, start with how to become a lash tech. In my classes, picking the right tweezer for your hand is one of the first things we work on.
Frequently Asked Questions
Learn to Lash with MIYO
Two-day classic and volume courses with Lyn. Live models, your kit and a certificate.
See the courses